Steps I used to create a Zap in Zapier for a Marketo / Eventbrite integration along with a few tips.
Eventbrite Event Setup
Before you create your first Zap you should create your event in Eventbrite.
Create a Zap Triggered Based on a Person Registering for a Specific Event
The following are instructions for a creating a new Zap which will be triggered when a person registers for a specific event.
Click make a Zap

Choose a trigger app, select Eventbrite

Choose a trigger

Choose account
- Your Eventbrite account should automatically appear if you already setup the integration.
- Click Connect an Account if necessary
- Click Test

Set up Options
- Choose Organization
- Select Live for Event Status
- Choose a specific event or leave blank. In this case, choose a specific event.
- Super Important: You must setup your Eventbrite event before you get to this step
- When you choose a specific event, you will need to always create a new Zap for each new event.
- If you leave it blank, then it will trigger for all events for your organization

- It is highly recommended to have a naming convention to ensure you are choosing the correct event
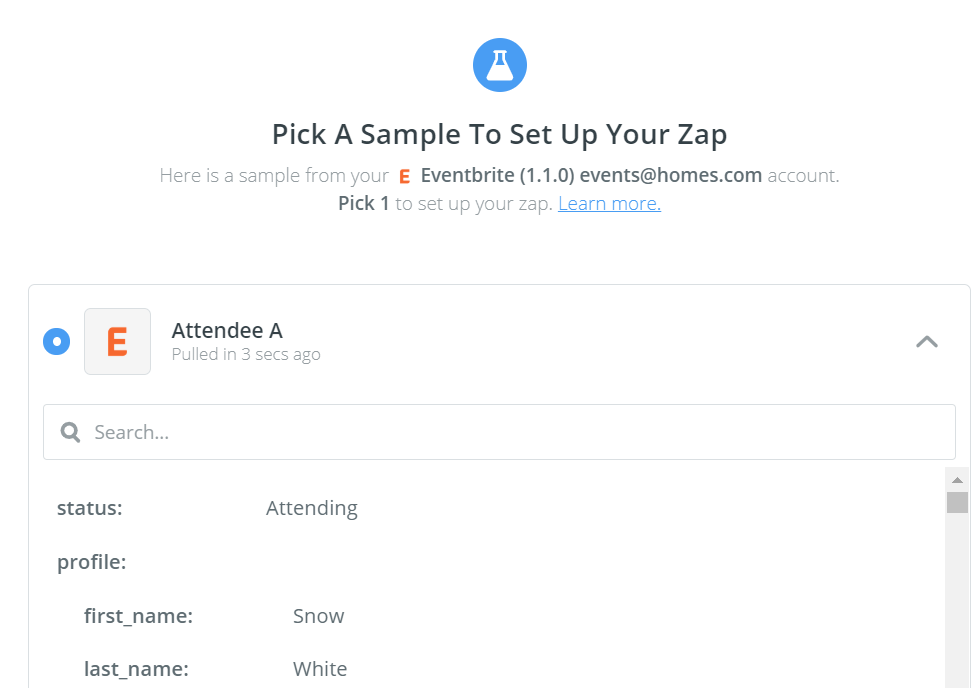
Pick A Sample To Set Up Your Zap
Setup Action

Select Marketo Action
- Choose Create or Update Lead

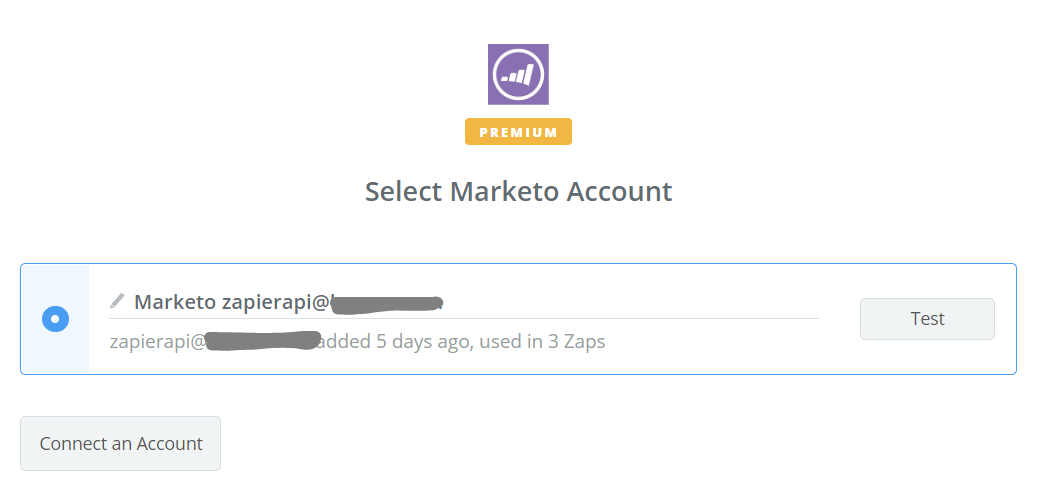
Choose account
- The account should automatically appear if you already setup the integration.
- Click Connect an Account if necessary
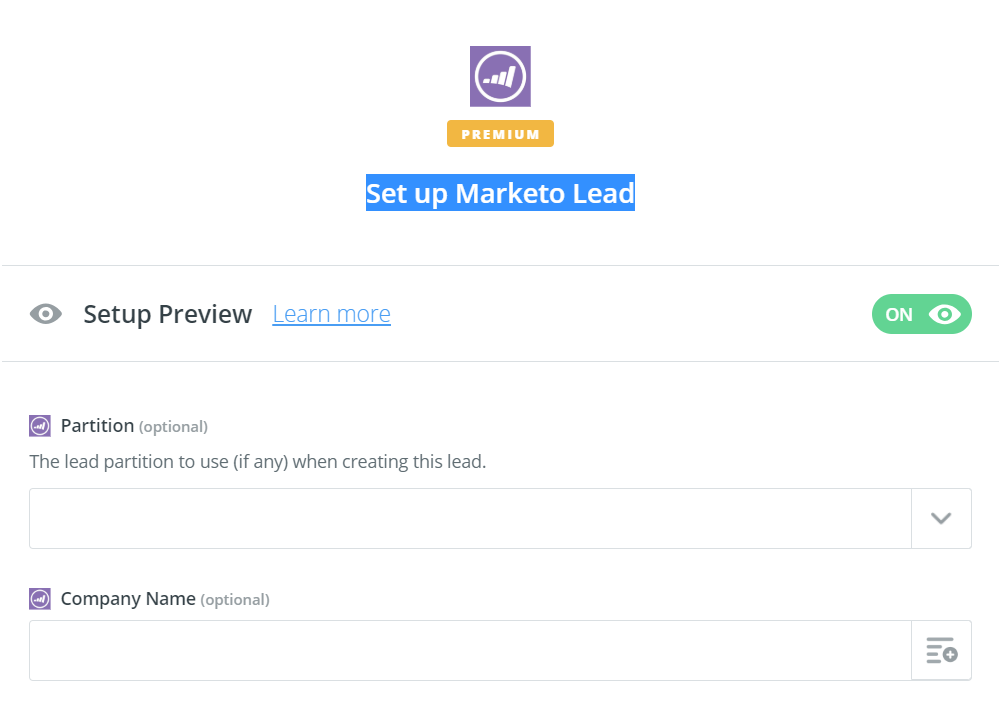
Set up Marketo Lead
- Setup the field mapping between Marketo and Zapier
- Remember to create any necessary new Marketo custom fields which you have in Eventbrite before you get to this step
- Field names in Zapier from Eventbrite show up as Profile [field name]
- Examples
- You will see sample values based on your sample record

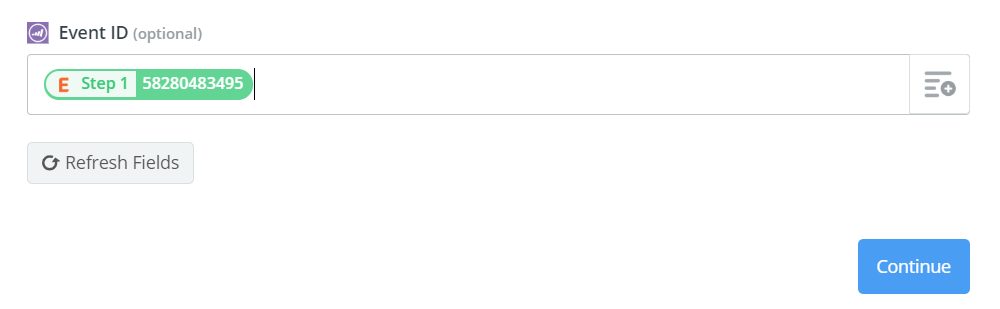
- It’s important to make sure Eventbrite ID is mapped
- Super Important: Add the word - Registered or Attended
- A cool feature of Zapier is that you can append values in fields
- By adding the word Registered or Attended you can create your Zap first without creating a Marketo program or smart campaign


Yeah, I accidentally named the field Event ID in my Marketo test instance. It would be better if the field was called Eventbrite ID, oh well.
- Send Test Lead to Marketo
Name your Zap
Next activate your Zap
You are done with setting up Zapier!
Part III will cover setting up a Marketo program and smart campaign to set program status to registered or attended. Thanks!
 Adchoices